I did not realise that it has been close to a month since I last posted here, and now I am back with another food post to kick the dust off this blog of mine. I am hoping to be back blogging and I do already have a couple of posts lined up, due to publish. So, do look out for those posts. Before further ado, allow me to share with you on my latest food adventure to Bites which is located in Lake Fields, Sungai Besi.
I know of Lake Fields area about a year back, when pH Pastry House was opened there. Back then, pH was one of the places I would visit until the food standards dropped and it was getting rather pricey to have just a simple dinner there. So fast forward to last week, I was back in the area again but this time around, to try a new café there. Let us begin, shall we?
* * * * * * * * * *

Club Sandwich Waffle | RM 12.90
This arrive in all of its gloriousness; beef bacon, eggs and ham sandwiched in between crispy waffles. So humongously huge that you need a stick to hold the awesomeness of it together. I am sounding that this is too good to be try, but this was how my it arrived to my table and it is that tasty. As you bite into the waffle, you’ll be welcomed with crispy thin waffles and then, the saltiness of the ham and bacon coupled with tartare sauce. Just simply delicious.

Grilled Chicken & Waffle Sandwich | RM 15.90
If you cannot get enough of the waffles as sandwiches, you’ll welcome this dish with wide open arms, especially if you’re a fan of both grilled chicken and waffles because Bites married these two perfect combination, topped with creamy rich mushroom sauce. This would have you licking the plate clean, with the oh-so-yummy sauce with goes well with both the waffles and the chicken, of course.

Eggs Benedict | RM 17.90
What would a breakfast be without eggs benedict? Certainly one that is incomplete! Here the eggs benedict is served with a generous portion of smoked salmon and shimeji mushrooms, which just happens to be two of my favourite ingredients. Needless to say, I loved this dish and yes, they did get the eggs done right. It was just perfect, with the runny yolk.

The French | RM 15.90
Now, meet the French toast as interpreted by Bites. This is a French toast which is filled with chicken ham, melted cheese in between the bread and the ham, drizzled with maple syrup over it. A sunny side up egg placed over the toast to compete this dish. The toast was fluffy, and with the combination of the ham and cheese with the egg, I went “mhmm” as I had it.

The Italian | RM 14.90
This is a breakfast fritata, which is basically an egg-based Italian dish which is similar to an omelette or crust-less quiche. I have never heard of it till I had it the other day, and I must say, it was loveeeee with just the first bite. This is officially my latest egg dish! The Italian comes with turkey ham, onions, spinach, cherry tomatoes and of course, the eggs itself. Personally, I can polish this off in 2 minutes because it’s amazingly delicious. Heck, I can take two servings of this anytime.

The Mexican | RM 12.90
After having Italian and French, there is The Mexican on the menu as well. What this is a breakfast burritos with tortilla, chicken sausage, eggs, mushrooms and cheese. I have never been a fan to wraps, so I will be biased when I say this was just pretty decent for me. It is delicious, nevertheless but not one dish that bowled me over as the rest of the dishes has. Still yummy and very healthy, I must say.

Breakfast Pizza | RM 14.90
Unlike your usual pizzas, meet the Breakfast Pizza which has baked beans, beef bacon, shimeji mushrooms, cheese and the usual vegetables like capsicums, tomatoes and onions, topped with a sunny side up. The crust is a cripsy crust too, so it is perfect for little bites.

Beef Bacon & Shrimp Pasta | RM 18.90
This pasta is a spaghetti aglio olio with beef bacon and shrimps, a combination which I found to be rather unique because the ones I’m used to for aglio olio was prawns or seafood, but not with beef bacon. The bacon are usually in the carbonara. As a simple dish as it is, Bites has managed to make this one rather delicious, with light hints of chilli flakes and yet very flavourful.

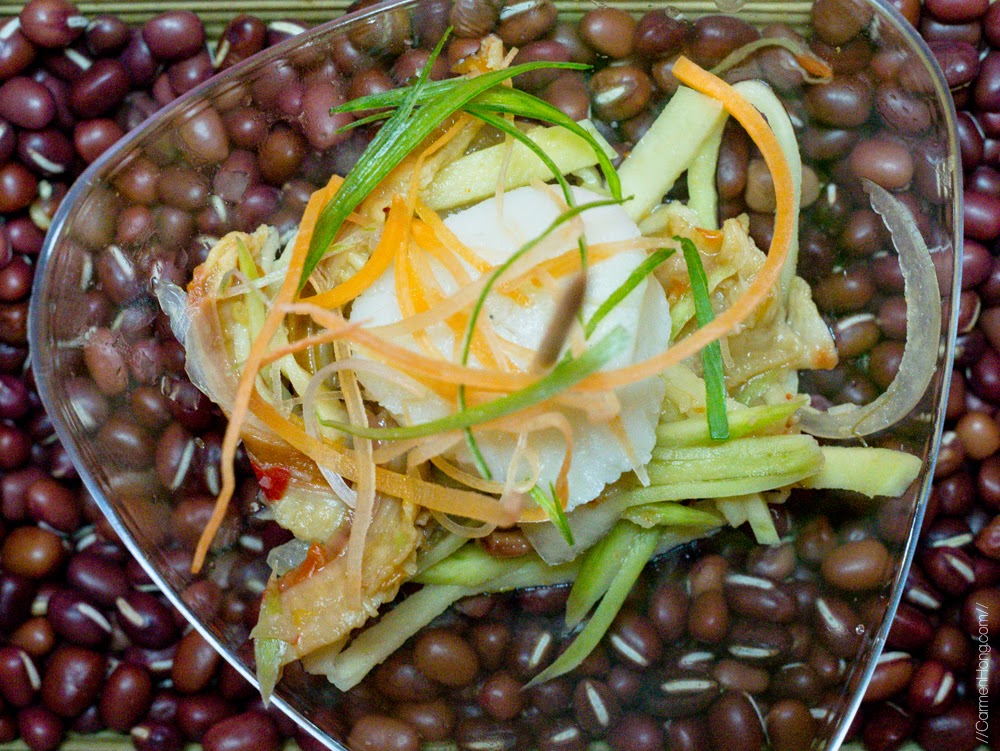
Grilled Salmon Fillet on Crispy Potato Cake | RM 32.90

Grilled Salmon Fillet on Crispy Potato Cake | RM 32.90
In all honesty, I love my salmon raw and I always rarely eat salmon if I’m out. I have never been impressed by any cooked salmon dishes, that I had ever had before. But this dish, was something different from the ones previously; mostly because it was fresh and the homemade creamy sauce went superbly well with the salmon. The salmon skin was crispy and the topping was as well. I would say that the whole combination work pretty well, and it is one delicious salmon dish.
We mostly had the breakfast dishes known as Early Bites and just two from Big Bites which are the main course dishes. Then, we ended the meal with Sweet Bites, which are the desserts!

Nutella Pizza with Strawberry and Banana | RM 10.90

Dessert Waffle topped with Gula Melaka Ice Cream | RM 11.90
(Note: Bites serves The Last Polka ice cream in its cafe so you can get them goodies, at RM9.90 per cup.)
* * * * * * * * * *
Overall, I found most of the dishes served in Bites to be very tasty and delicious. I must admit that not many places can serve consistently good dishes across their menu, cause usually you’ll have only a handful that is nice. The ambiance of the cafe is a cosy one, with nice decoration around it. I didn’t unfortunately take any pictures of the interior, I should remember to next time. I am definitely visiting the cafe again, so when I do, I’ll be updating this post with the pictures of the cafe.
72, Jalan Tasik Utama 7, Lake Fields Sg Besi
03- 9055 4438
Open from Monday to Sunday from 9am to 10pm
The cafe opens till 11pm on Friday and Saturday. It is also a pork-free cafe. :)