

I actually gave up on water marbling after a disappointing first attempt and a not very successful second attempt. But I have been getting visits to my post on water marbling during my first attempt and it has reached thousands of views already. Quite an achievement for me, so I thought why don’t I give it a try again.
Thankfully, I did and it worked during the first time itself. I’ll be sharing some quick tips on which polish I used. Though, this post is a quickie and I’ll be posting up a full length tutorial once I get my hands on more of Sally Hansen nail polishes! Oh yes, Sally Hansen’s are the only polish that seems to work for me. I have yet to try OPI.

I only have two Sally Hansen’s polishes (Blue It and Green with Envy) at that time, which explains for the weirdly colour combination. Wait till I get my hands on more polishes, then you’ll be seeing better colour combination!
* * * * * * * *
Quick Tips
- The water for the nail art should be lukewarm. If it’s cold, most likely the polishes would harden faster.
- Use cello tape to tape the edges of the finger so that it won’t end up looking like my finger. :)
* * * * * * * *
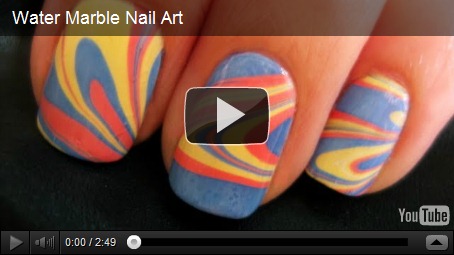
Before I end this post, here is a video from CutePolish’s Youtube channel! Her tutorials make nail art seem easy peasy!


No comments:
Post a Comment